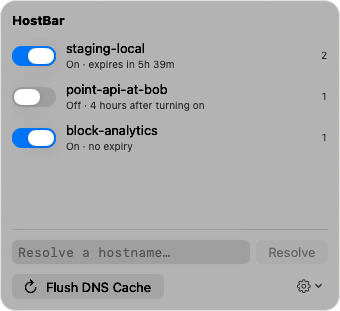
HostBar
Flush the DNS cache on macOS (14, 15, and 26)
The command
sudo dscacheutil -flushcache; sudo killall -HUP mDNSResponderThis works unchanged on Sonoma (14), Sequoia (15), and macOS 26.
You do not need a different command for a different version; the same two-part command covers all three.
What the two halves do
dscacheutil -flushcache clears the Directory Services cache, used by some older lookup paths. The killall -HUP mDNSResponder half sends a HUP signal to mDNSResponder, which is the process that actually answers DNS lookups on modern macOS, telling it to drop its cache.
Older guides also mention lookupd or discoveryutil; those were used on versions of macOS that no longer exist and do nothing today.
When you need it
- A record changed upstream and the old answer's TTL has not expired yet.
- You just edited a resolver file.
- A VPN reconnected and handed you a different split-DNS setup than before.
When you do not
Hosts-file edits are picked up on their own, since mDNSResponder watches that file for changes; a flush is usually not needed after editing it; a cached answer for that name can still stick, so flush if a change does not show.
The browser's own cache is separate from the system cache this command clears; see the browser section of the hosts-file guide for that.
Check it worked
Compare what a DNS server gives you against what the system cache now has for the same name:
dig +short example.com @$(scutil --dns | awk '/nameserver\[0\]/{print $3; exit}')dscacheutil -q host -a name example.comIf the two disagree right after a flush, give it a moment for the first real lookup to land in the cache and check again.
One click
The command above is two commands chained together and needs sudo every time. If you flush often, typing it repeatedly gets old.
Flush without opening a terminal
HostBar's Flush button in the menu asks its root helper to send mDNSResponder the same HUP signal the command above does, with one click and no password prompt.